We'll be on vacation from Dec 20, 2023, to Jan 10, 2024, with the last shipping day on Dec 18. While we're away, our holiday sale continues. Orders are accepted during this time, but shipping resumes on Jan 10.
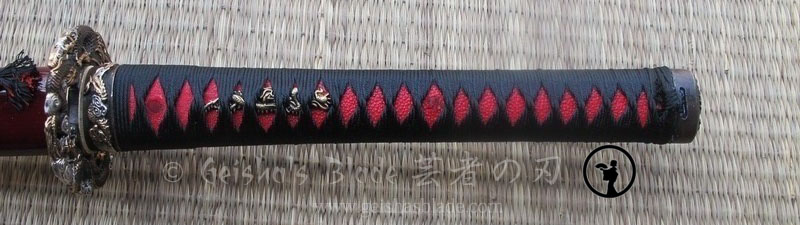
We had a client who acquired our tsukamaki service to have his shinken’s tsuka re-wrapped. Due to years of usage, the tsukamaki has worn down and became very loose.
Well, enough of the talk and let’s go on with the pictures.
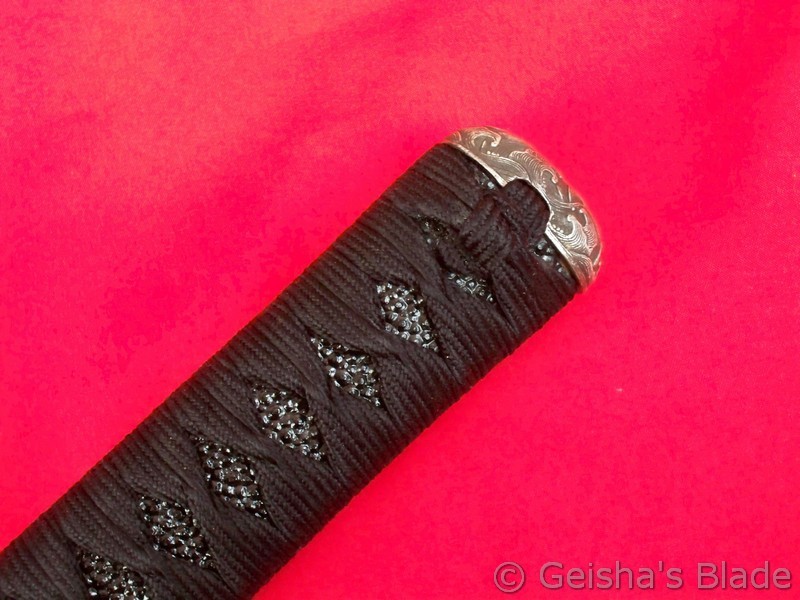
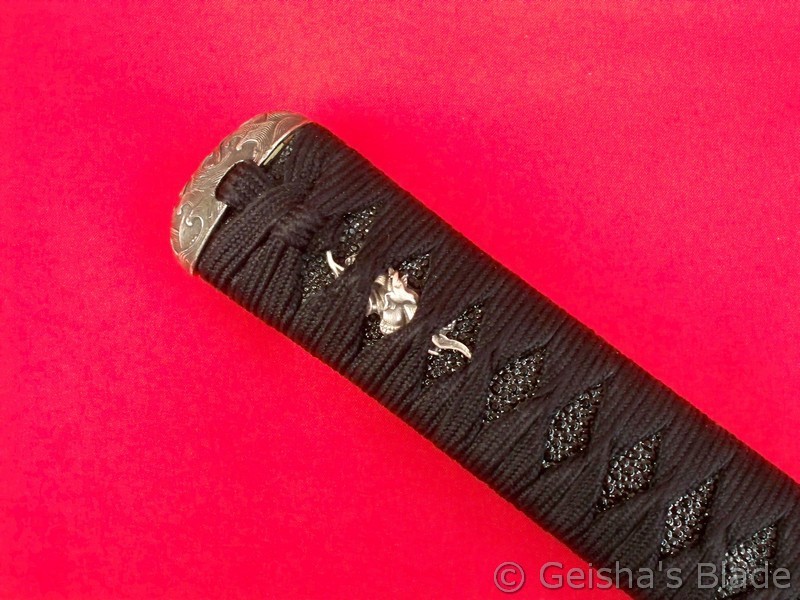
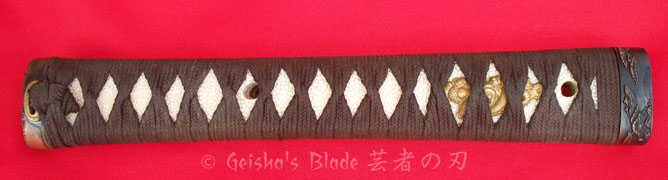
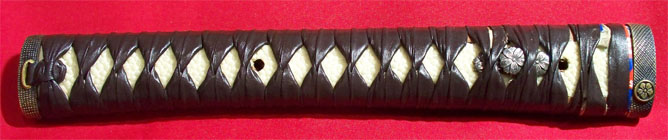
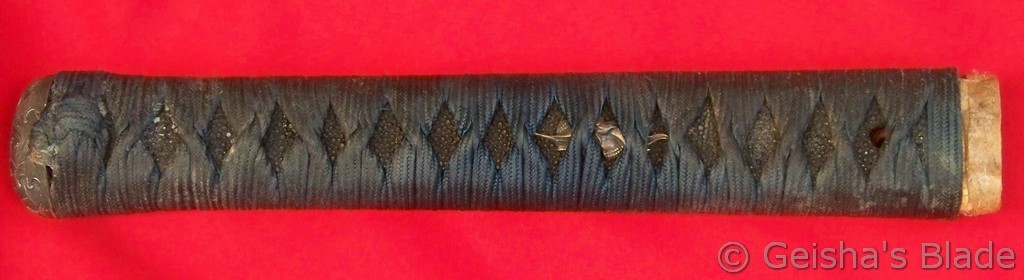
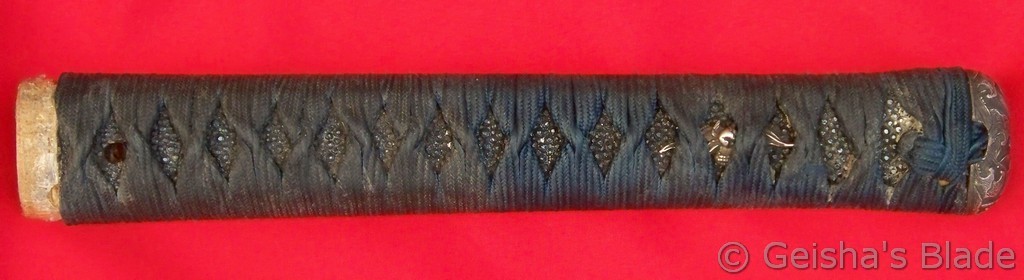
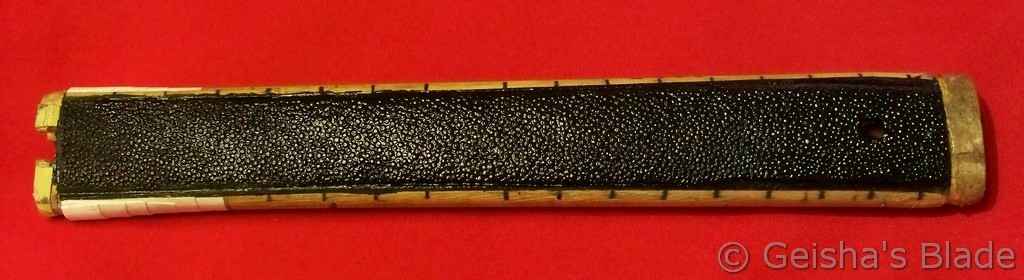
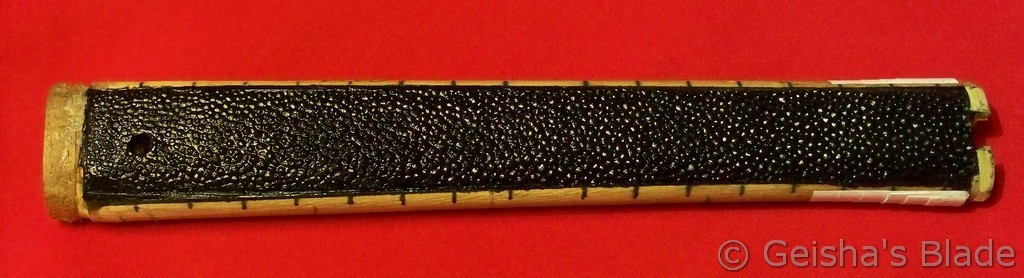
BEFORE
Above photo is the omote side (when holding the katana, this is the side where your left palm is facing the tsuka)
Ura side (when holding the katana, this is the side where your right palm is facing the tsuka)
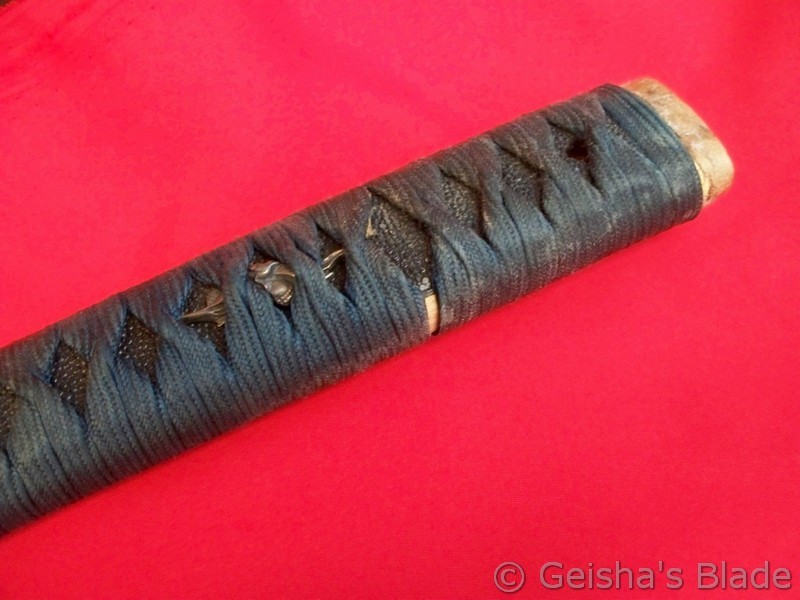
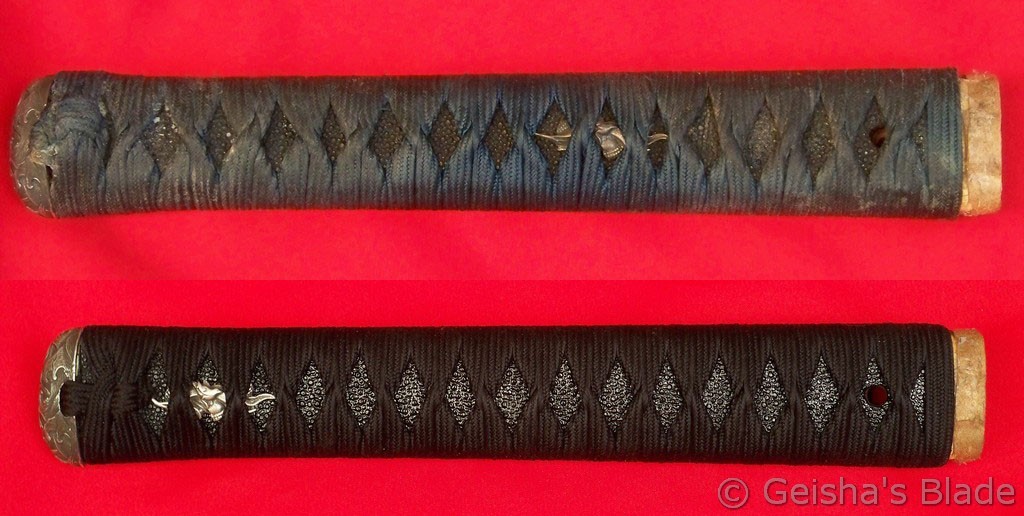
Here you can see the looseness of the tsukamaki that you can easily move the tsukaito.
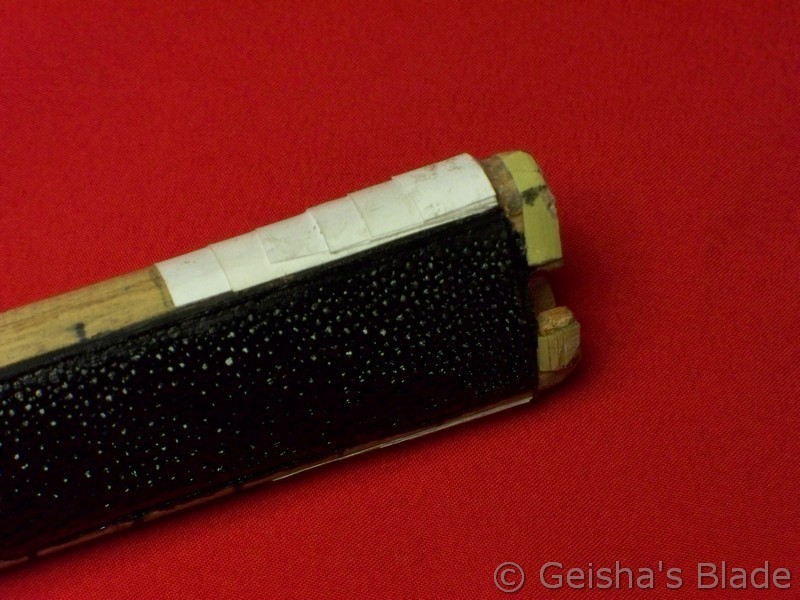
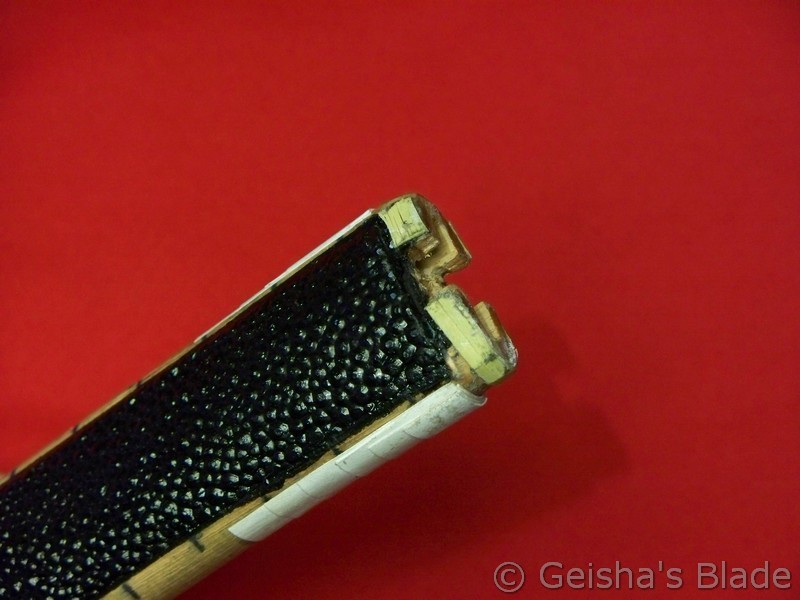
The wrap is so loose that you can pull out the kashira without any force. According to the client, he shorten the tsuka and tied the end knots himself. Doing so, the kashira was no longer flush with the tsukaito so he had to apply duct tape on both sides of the tsuka.
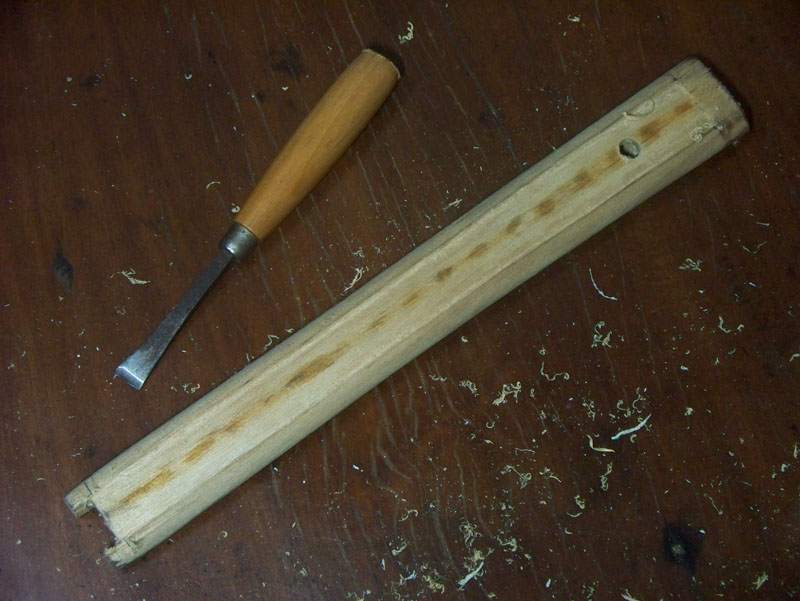
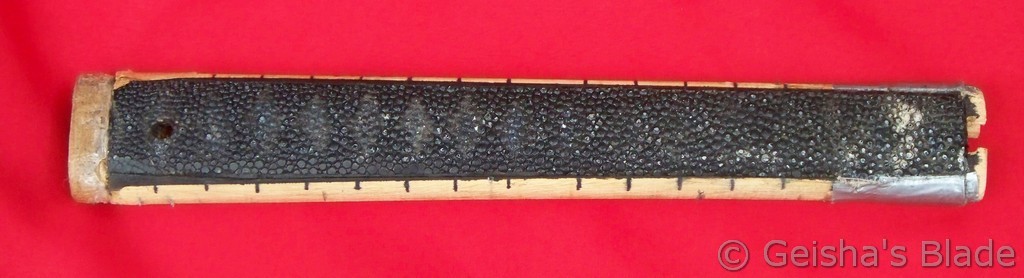
Here’s the tsuka after removing the tsukaito:
Omote side
Ura side
We had to clean the ray skin as it was dusty and removed the duct tape. But after cleaning it, some of the lacquer came off.
Omote side
Ura side
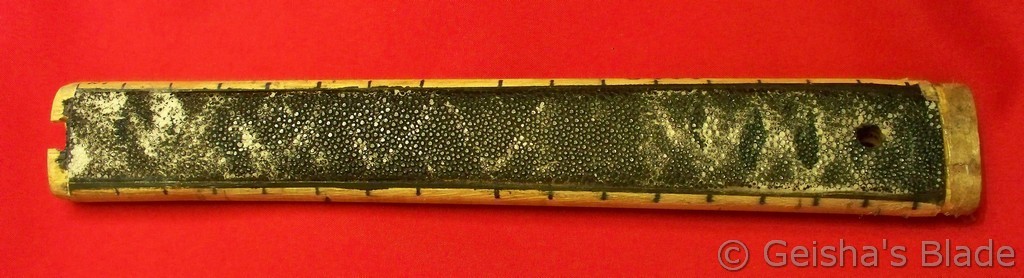
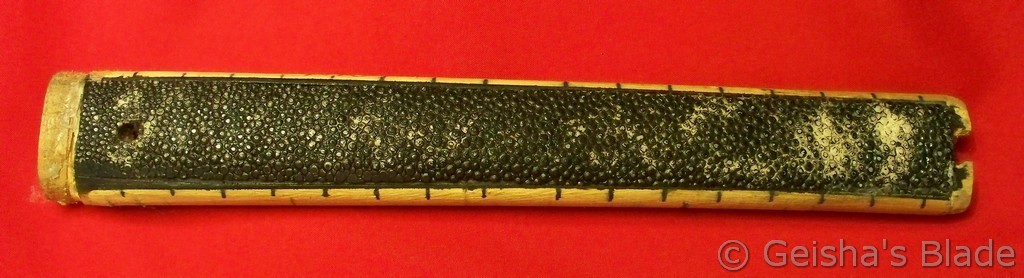
We had to re-lacquer the ray skin black again so it would look good as new.
Omote side
Ura side
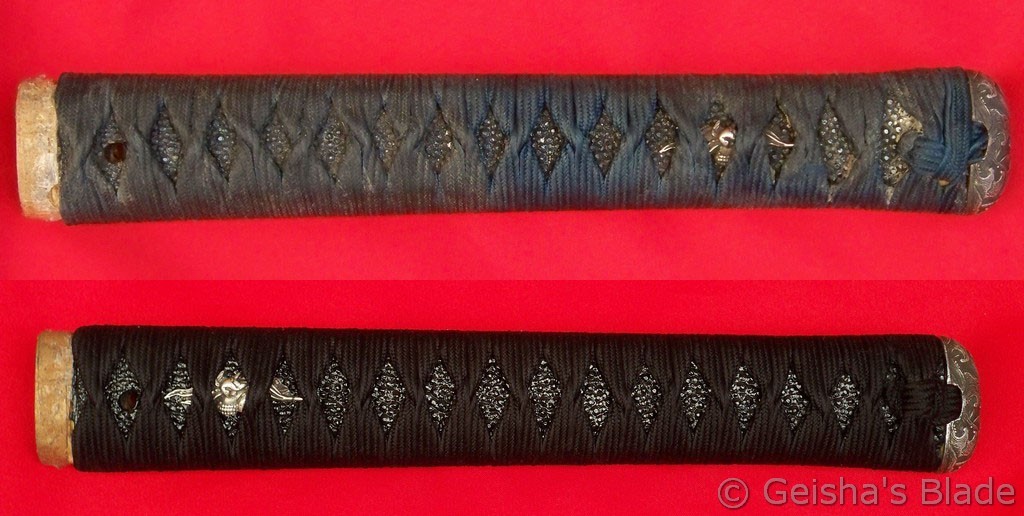
In place of the duct tape, we glued layered paper strips so the tsuka would have a sexy hour glass shape and that the kashira would be flush with the tsukaito.
Then we also glued bamboo strips so the kashira will have a tight fit.
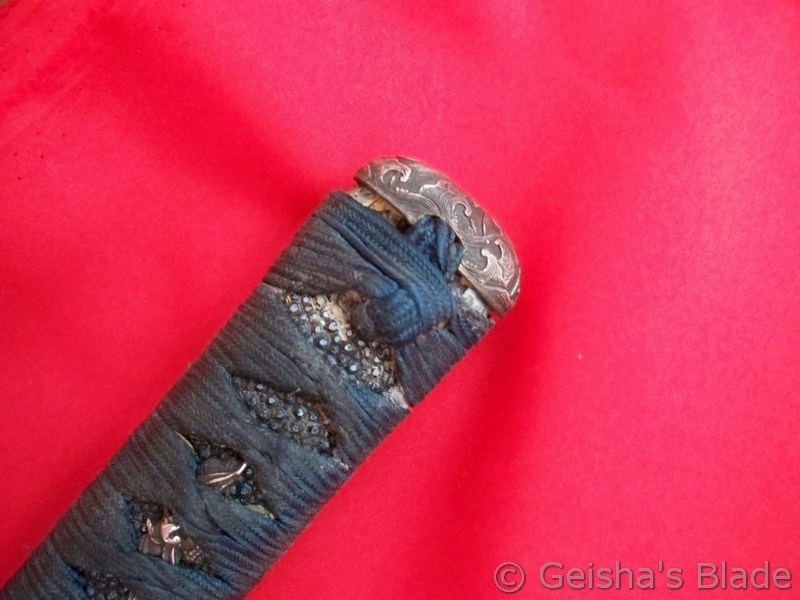
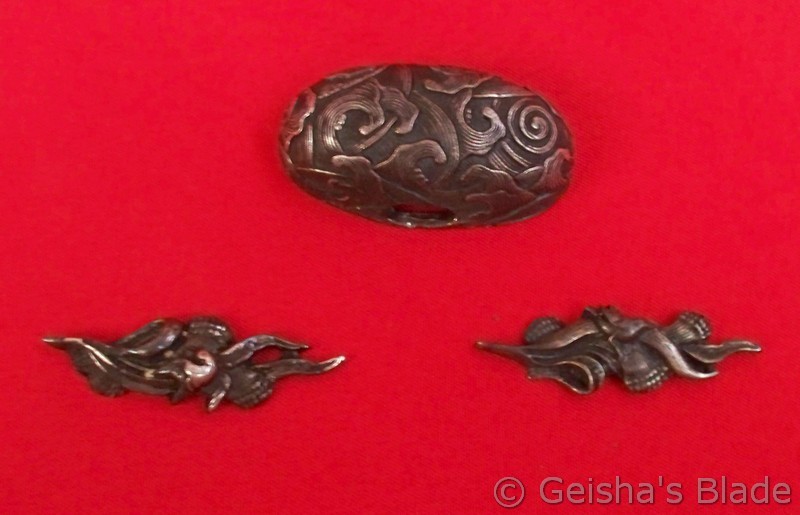
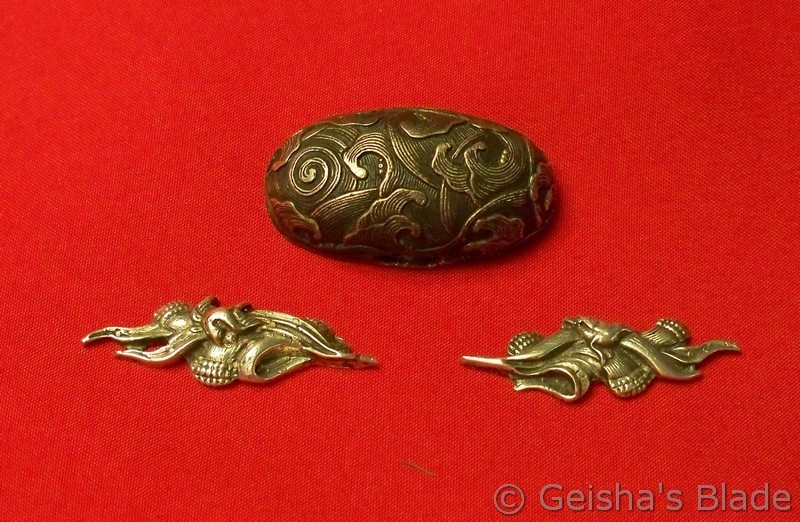
Here you can see the kashira and menuki were heavily patinated due to age.
We cleaned the menuki so it would stand out over the black tsukaito and black ray skin. Per instructions of the client, the kashira was left as is. But after constant rubbing with skin, a bit of the patina came off.
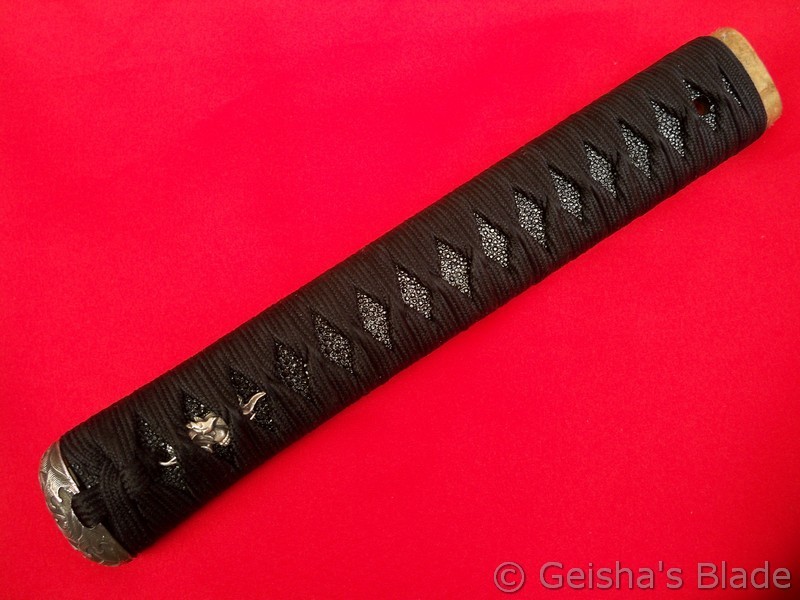
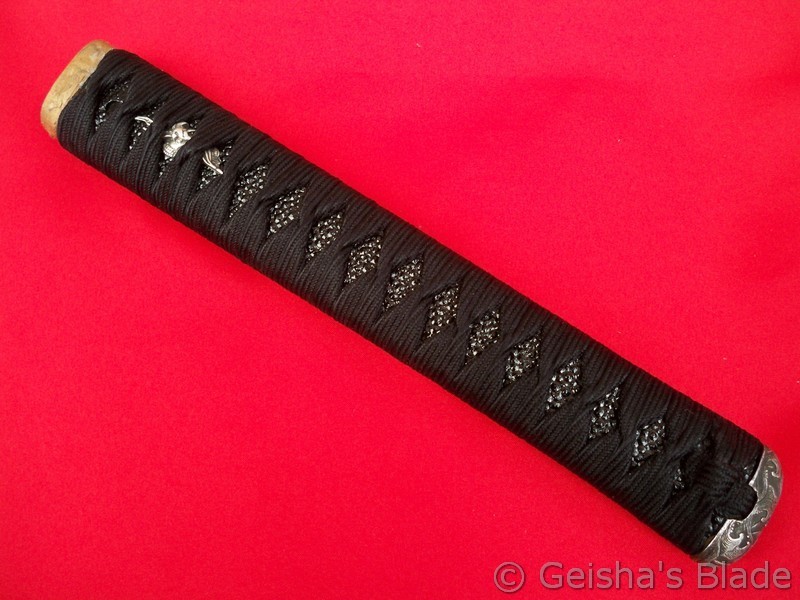
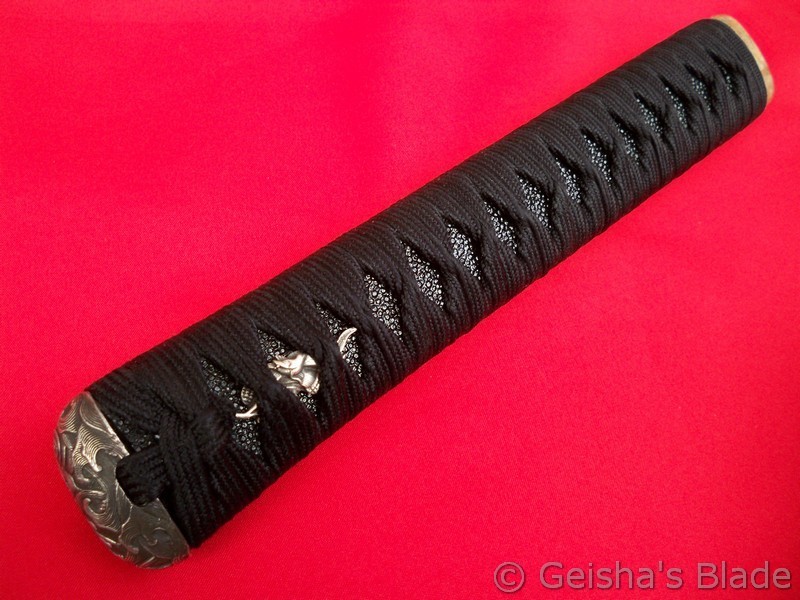
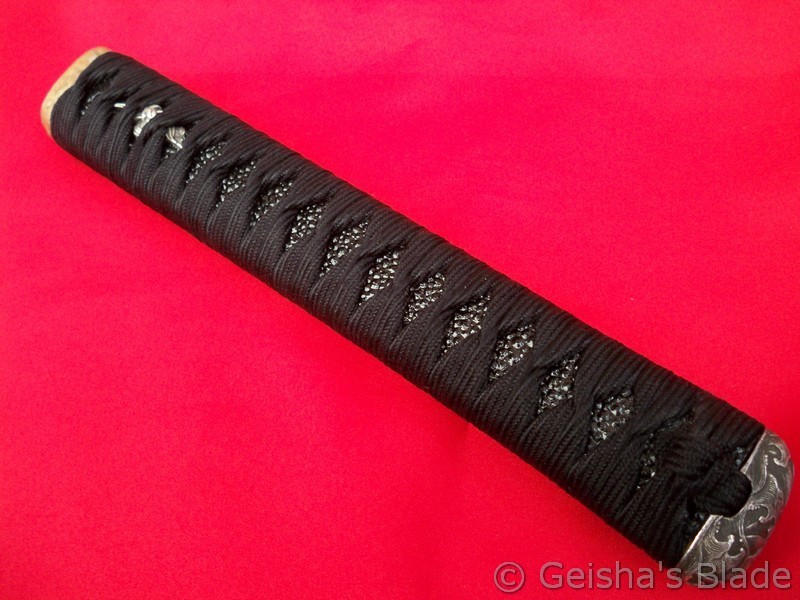
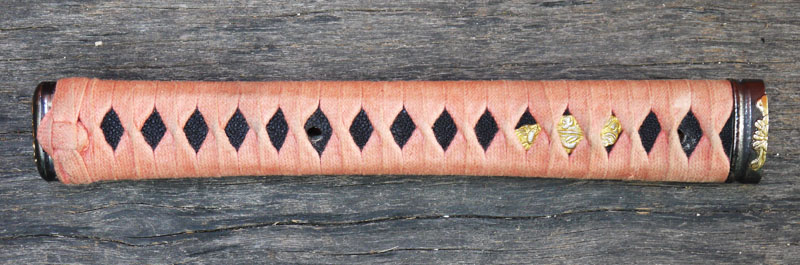
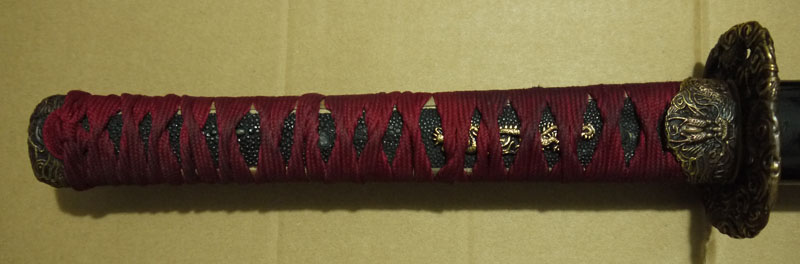
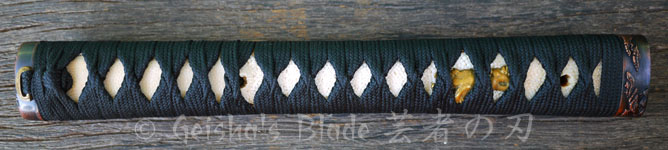
Finally, here’s the finished work:
BEFORE & AFTER (omote side)
BEFORE & AFTER (ura side) If you would notice, the placement of the menuki is reversed. Positioning the menuki under the palms in a katana mounting is referred to as “gyaku menuki” or reverse menuki. This is what the client instructed.
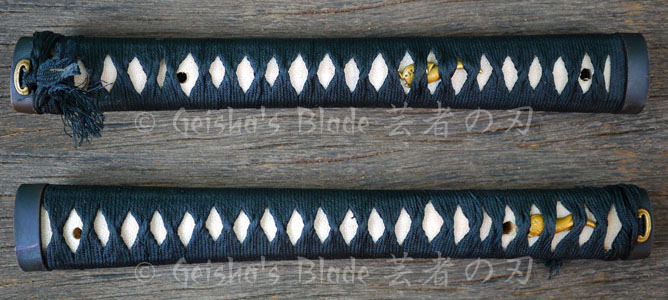
More photos:
Our client was very happy with the outcome and we hope that you like it too. If you wish to acquire our tsukamaki service you may contact us through this page.


 S&D Shirasaya Katana 13

 According to the client, he shorten the tsuka and tied the end knots himself. Doing so, the kashira was no longer flush with the tsukaito so he had to apply duct tape on both sides of the tsuka.
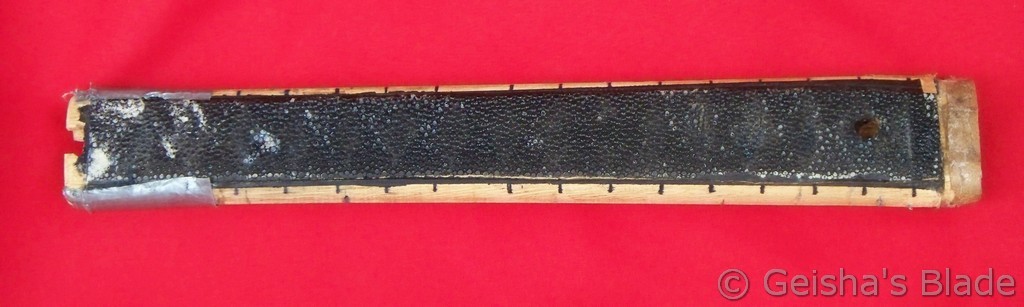
 If you would notice, the placement of the menuki is reversed. Positioning the menuki under the palms in a katana mounting is referred to as “gyaku menuki” or reverse menuki. This is what the client instructed.